Remove Gel Manicure at Home: Getting a gel manicure feels like stepping out with a shield of Beauty on your Fingertips. It’s shiny, durable, and makes your nails look pristine for weeks. But what happens when it’s time to say goodbye to that glamorous layer? Heading to the salon for a removal can be inconvenient and costly. So, why not take matters into your own hands? In this comprehensive guide, we’ll walk you through the process of removing a gel manicure at home safely and effectively.
Understanding Gel Manicures
What is a Gel Manicure?
A gel manicure involves applying a special polish that hardens under a UV or LED light. This creates a glossy, chip-resistant finish that can last up to three weeks. Unlike regular polish, gel polish requires a curing process to bond to your nails, which is why it lasts so much longer.
Benefits of Gel Manicures
Gel manicures are beloved for their long-lasting nature and high-shine finish. They are perfect for those who want a manicure that can withstand daily wear and tear without chipping. Plus, with a variety of colors and styles, the options are endless.
Common Issues with Gel Manicures
Despite their benefits, gel manicures can cause some issues, such as nail weakening and thinning, especially if not removed properly. The removal process is crucial in maintaining nail health, which is why doing it correctly at home can make a big difference.
Why Remove Gel Manicure at Home?
Convenience
Removing your gel manicure at home allows you to do it on your own time. No need to schedule an appointment or rush to the salon. You can remove your gel polish in the comfort of your home, whenever it suits you.
Cost-Effective
Salons often charge a fee for gel removal, which can add up over time. By learning to do it yourself, you save money that can be spent on other beauty treatments or products.
Safety and Hygiene
When you remove your gel manicure at home, you control the environment and the tools used. This ensures a clean and safe process, reducing the risk of infections that can sometimes occur in salons.
Preparation Before Removal
Gathering Necessary Tools
Before starting, make sure you have all the necessary tools:
- Nail file
- Pure acetone
- Cotton balls or pads
- Aluminum foil
- Orange stick or cuticle pusher
- Nail buffer
- Nail and cuticle oil
Setting Up Your Workstation
Set up a clean, flat surface where you can work comfortably. Lay down a towel to protect the area from spills and have all your tools within reach.
Protecting Your Surroundings
Acetone can damage surfaces and fabrics, so it’s wise to protect your surroundings. Use an old towel or disposable cover to prevent any accidental spills from ruining your furniture or clothing.
Step-by-Step Guide to Remove Gel Manicure at Home
Step 1: File the Top Layer
Using a coarse nail file, gently file the shiny top layer of your gel manicure. This helps the acetone penetrate the layers of gel polish more effectively. Be careful not to file too much and damage your natural nail.
Step 2: Soak Cotton Balls in Acetone
Pour pure acetone into a small bowl and soak enough cotton balls for all your nails. Acetone is essential for breaking down the gel polish, but it can be drying, so handle it with care.
Step 3: Apply Cotton Balls to Nails
Place the soaked cotton balls directly on your nails, ensuring they cover the entire nail surface. This allows the acetone to work on softening the gel polish.
Step 4: Wrap Nails in Aluminum Foil
Wrap each finger in a small piece of aluminum foil to hold the cotton balls in place. This creates a warm environment that speeds up the gel removal process.
Step 5: Wait for 15-20 Minutes
Patience is key. Allow the acetone to work for about 15-20 minutes. Use this time to relax or catch up on a favorite show.
Step 6: Check the Progress
After 15-20 minutes, unwrap one nail to check the progress. The gel polish should be lifting off the nail. If not, rewrap and wait a few more minutes.
Step 7: Gently Push Off Gel with an Orange Stick
Once the gel polish is softened, use an orange stick or cuticle pusher to gently push off the gel. Be gentle to avoid damaging your natural nail.
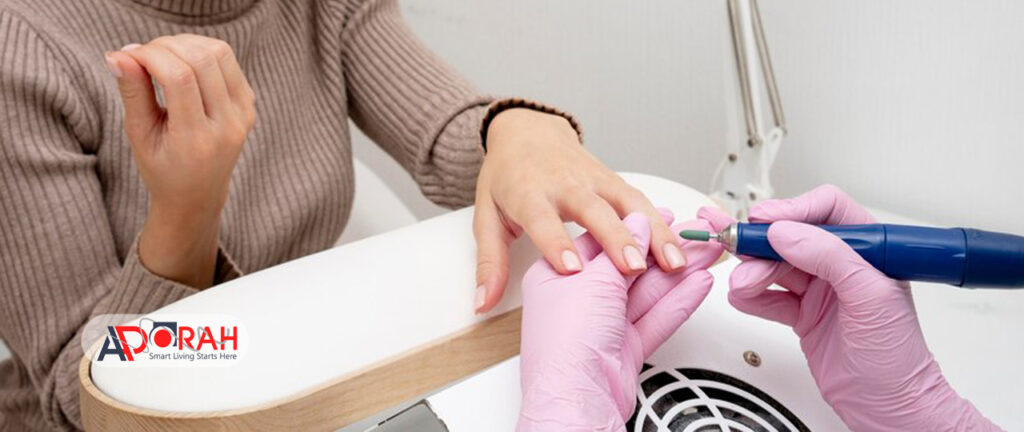
Step 8: Buff and Shape Your Nails
After removing the gel, Buff Your Nails to smooth out any remaining residue and shape them as desired. This helps to prepare your nails for the next steps in your nail care routine.
Post-Removal Nail Care
Hydrate Your Nails
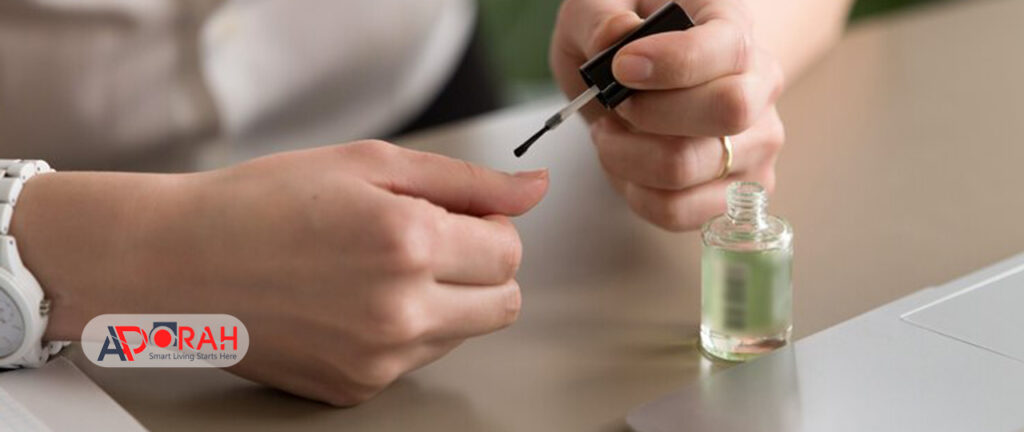
Acetone can be very drying, so it’s essential to hydrate your nails and cuticles. Apply a nourishing nail oil or cuticle cream to restore moisture.
Strengthen with a Nail Treatment
Use a nail strengthener to help rebuild any weakened nails. Products with ingredients like keratin, biotin, and vitamins can promote healthier nail growth.
Avoid Immediate Reapplication of Gel
Give your nails a break from gel polish for at least a week. This allows them to recover and strengthens naturally before your next manicure.
Common Mistakes to Avoid
Peeling Off the Gel
Peeling off gel polish can severely damage your nails, making them weak and prone to breaking. Always use the soaking method to remove gel.
Skipping Moisturization
Skipping post-removal hydration can lead to dry, brittle nails. Always follow up with a good moisturizer or oil.
Using Metal Tools Aggressively
Using metal tools aggressively can cause trauma to your nails. Stick to gentle pushing with an orange stick or a plastic cuticle pusher.
Alternative Methods for Removing Gel Manicure
Using a Gel Removal Kit
Gel removal kits are available in stores and online. These kits typically include everything you need for a safe and effective removal at home.
Non-Acetone Methods
Non-acetone removers are less harsh but also less effective. They might take longer and require more effort to remove gel polish completely.
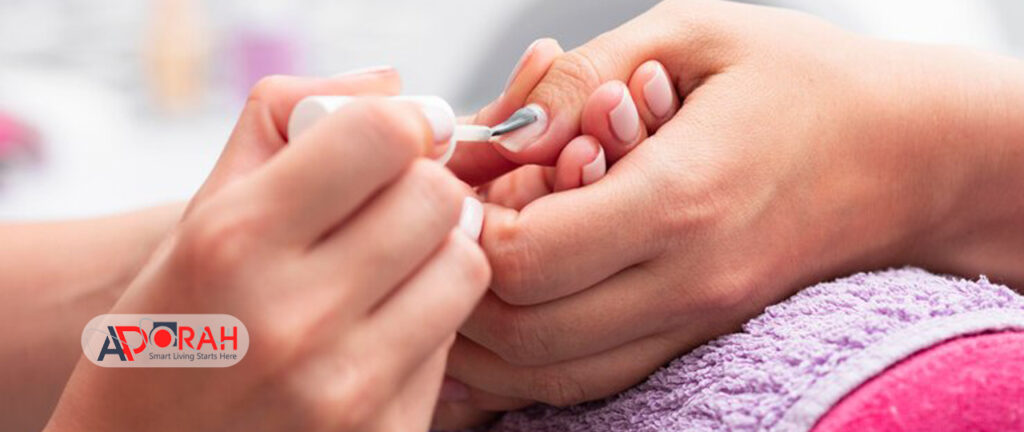
Professional Removal Options
If you’re unsure about removing gel polish at home, consider visiting a professional. Salons have specialized tools and expertise to remove gel without damaging your nails.
Benefits of Removing Gel Manicure at Home
Personalized Care
Removing your gel manicure at home allows you to cater to your specific nail needs. You can take extra steps to ensure your nails stay healthy and strong.
Flexibility in Timing
Removing gel at home offers flexibility. You can choose a time that suits your schedule without the hassle of fitting into a salon’s timetable.
Learning a New Skill
Mastering the art of gel manicure removal is a handy skill. It gives you greater control over your nail care routine and can be a fun, rewarding process.
FAQs about Gel Manicure Removal
What if I experience nail damage?
If you notice signs of nail damage, such as thinning, splitting, or persistent brittleness, give your nails a break from gel manicures and focus on restorative treatments. Use a nail strengthener, hydrate regularly with oils, and consider taking a break from all nail polish until your nails regain their strength.
Can I reuse the tools for future removals?
Yes, you can reuse tools like nail files, orange sticks, and buffers as long as they are properly sanitized after each use. However, it’s best to use new cotton balls or pads and fresh aluminum foil for each removal to ensure cleanliness and effectiveness.
How can I maintain healthy nails post-removal?
Maintaining healthy nails after gel removal involves regular moisturizing with cuticle oil, using a nail strengthener, and avoiding harsh chemicals. Eating a balanced diet rich in vitamins and minerals also promotes nail health. Additionally, wearing gloves when doing household chores can protect your nails from further damage.
Is it okay to use gel polish immediately after removal?
It’s recommended to wait at least a week before reapplying gel polish. This gives your nails time to recover from the acetone exposure and prevents them from becoming too brittle. In the meantime, you can use regular nail polish or go au naturel to let your nails breathe.
Conclusion
Removing a gel manicure at home can be a straightforward process if done correctly. By following these detailed steps and taking proper care of your nails before and after removal, you can maintain healthy and beautiful nails without the need for frequent salon visits. Remember, the key to healthy nails lies in gentle handling and regular care. So next time you decide to remove your gel manicure, trust yourself to do it right at home and enjoy the convenience and cost savings that come with it.